Frame Data & Frame Member Data – Special Welds
(Revised:
08/30/2019)
The Weld tab is used to Insert, Revise, or Delete
the weld of clips, stiffeners, brackets or miscellaneous plates on Frame
Members.
The Design Engineer should provide
any non-standard weld requirements.
However, at any time, Remarks
can be added to Welds to help the shop in fabrication.
„
Warning:
Only edit Size & Side of Auto
Welds.
Options:


Welds For Element (Read only tab)
Displays
the part that is being welded onto the frame.
To Element
This
drop list contains the elements (Flanges, Webs, Plates, Clips, Stiffeners…)
that the selected part can be welded to.
„
How to use:
If the selected part is going to be
welded to more than 1 Element, each weld has to be entered
into the list separately.
Type
From
the drop-down list select the required weld type (Fillet, Full Penetration,
Partial Penetration).
„
How to use:
When revising extended bolting plates to
flush, 2 sided Fillet Welds need to be revised to a Full
Penetration Weld.
Size
From
the drop-down list select the required weld size.
„
How to use:
Full Penetration Welds and Partial
Penetration Welds default to 99.
Side
From
the drop-down list select the required side(s) to be welded (Both Sides or One Side).
Start Dim.
& Length
In
these edit boxes, insert the Start Dim which is where the weld is to start from
end 1 of the part. The length is how
long the weld is to be.
„
How to use:
Ex. – Start Dim.
= 0/2/0, Length = 0/4/0. Weld will start
2” in from End 1 and will be 4” long.
Stitch Weld Pitch & Length
In
these edit boxes, insert the pitch and length of staggered welds, if required.

Notes
In
this edit box insert any additional remarks that are necessary for the required
weld.
„
How to use:
The remarks can be used to add weld
notes to aid the shop in positioning of a clip or define the orientation.
When locating an -SP- or -XP- clip, use
Remarks to get the correct orientation such as: ‘Locate REF SIDE Toward Flange
Inside’.
Refer to: Frame - Standard Weld Notes
Add Standard Weld to Remarks
This
drop list displays notes that contain standard wording for welds. Wording can
be modified as desired.

**Note**
The
‘Locate with WELD SIDE to Clip’ is used to rotate web clip 90 degrees from the
normal orientation. This allows the weld
side to be located away from the web.
This
weld note can only be used on the web and with the weld detail – ‘Web Clip
Adjacent WP at Edge’.
Insert and Delete
These
buttons add & removes row(s) of data into the list.
Standard
Controls:
See also:
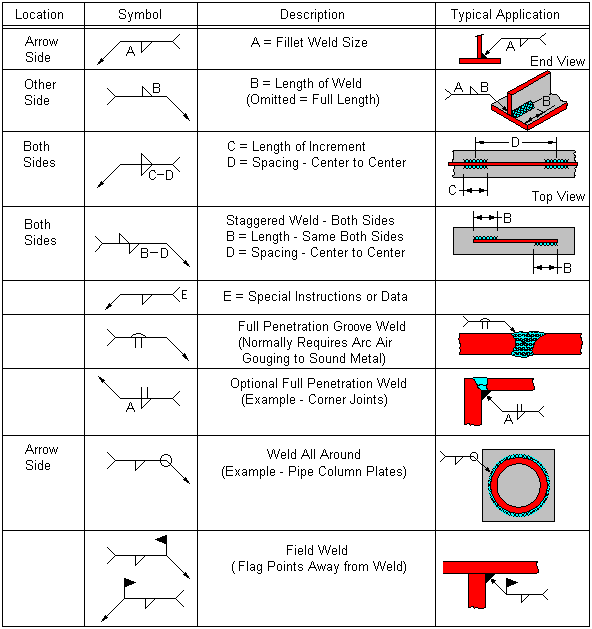
Weld Symbols: